Monday, October 7, 2019

One highlight colour

On the Olympus camera range after the OMD 5 this is part of the art filters. I have the OMD5. The OMD5 offers the filters as displayed in this blog

So I resort to Photoshop and Lightroom. First I want to have a shot at a lego image.


In Lightroom the process seems to be to remove the saturation of all colours except the one you want to keep. In the lego photo here I reduced the saturation of all the lego colours to 0 except the blue. This still left me with some purple for some reason so I changed the hue of purple to blue - hence the multiple colours of blue in image 1.

I wish I had glasses that would actually change the colours - much easier to help the kids find their lego pieces!


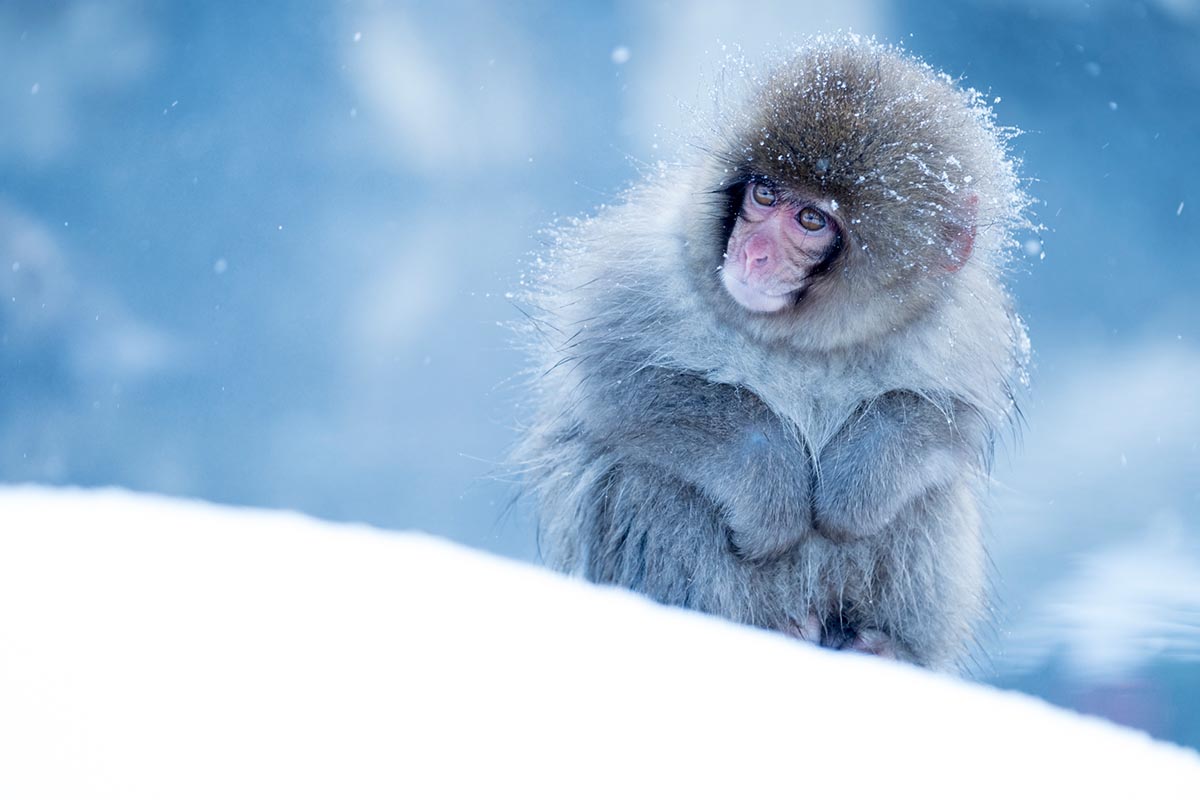
The next image is not as bright as the lego one.  I was interested in the orange around the face in this one and the almost mask like colour over the eyes. For this I tried out the steps that are followed in Photoshop. I followed these instructions.

First load the photo into photoshop.  This comes in as the background layer. Then duplicate the layer so that you have two identical layers.

Click on the background layer and using the key combination Control Shift U to desaturate the whole layer and turn it to black and white.

Then click on the duplicate layer and using the Select then Colour Range menu options you can use the eye dropper to select the colours that you want to keep.

There is a click box that says Invert. Clicking this changes the selection to everything except the colour you want to keep. Click OK to get back to the image.

Making sure you are still on the duplicate layer then click delete.  All of the image will disappear except the colour you have selected. With the background layer showing through as black and white you will have your new image with one highlight colour.

I left a bit of orange in the leaves but maybe this detracts from the face highlight. I'll leave it for now.




Tuesday, June 18, 2019

Editing photos for a range of different effects - Aileen Tesoriero

Choosing the software to edit your photos can be a challenge as there is a large range of software available to everyone. You can even get edit software to use on your phone or tablet.

What effects to apply all depends on your view of the world. What I like you may not like. What photos to use is also a personal choice exercise. So I choose four photos taken on our photoshoot at St. Kilda pier. I choose PhotoScapeX Pro to add effects to the four images.

I was so taken by the Kiosk at the end of St. Kilda pier I tried two different effects, the first is called “Emboss”. This gives the appearance of a raised image of the paper.

What you can do with Polarising Filters by Paul Greening


The filter cuts the reflection
and allows you to see
what’s under the surface
    

If you have used ever used polarised sunglasses you will have an idea of what they can do to reduce glare and reflections.

In photography you can get a polarising lens filter that does a similar thing.

Sunday, January 13, 2019

The Newbie - An interesting article on shutter speed

There just seem to be so many things to worry about with your camera.  You can select Aperture priority and set auto focus and let the camera take care of most things - right?  But then it gets a bit darker and the photos don't look so good.  Here's a great article that discusses the role of shutter speed in making better photos.

photographypro.com

Tuesday, October 11, 2016

The newbie - timelapse photography preparation

Wish I knew about time lapse when my grandaughter
pointed out the little wheels in the garden.
Oh no!  We have to do time-lapse photography for our next meeting.  My camera is an Olympus OM-D EM5.  It does not have a time-lapse setting.

Thursday, August 6, 2015

More on macros

Macro photography is usually defined as extremely close up photography of very small subjects, in which the size of the subject in the photograph is greater than life size.

It can require specialised lenses which can focus close up to the object being photographed.  A number of issues arise.  Lighting is critical.   Camera shake at slow speed becomes problematic but the most difficult aspect is depth of field and keeping the whole object in sharp focus.  In our work shop we experienced all of these and discussed way of solving them.

Friday, May 22, 2015

The Newbie - Macro shots

ISO 800 43mm f/6.0 1/80 sec
So Eileen brought along her macro equipment for a session shooting macro photos.  We were to take close up photos of the items that we brought from home for the session.  I am not expecting great things here but I have a collection of precious family mementoes that I want to record so I bring them along.

Tuesday, December 16, 2014

The newbie - illuminate parts of an object

Our local council held a competition to take photographs of local landmarks in the evening. A great opportunity to learn about using torch light to enhance parts of a picture taken in the evening.

What else would you do at Christmas?

Bright lights, twinking lights, background light
ISO 1000, 20mm, f16, 2.5 sec exposure
It's Christmas.  It's hot.  The photography club will be taking a break for the month.  The obvious thing to do is to use our last session to take some photos of Christmas lights.

Thursday, December 4, 2014

The Newbie - Painting with light - follow the path of a light

We got pretty enthusiastic about this painting with light idea.  The internet is full of great how to videos.  We decided to use torches to paint some light trails.

The Newbie - painting with light

Eileen's photo of light painting
Eileen had shared one of her "painting with light" photos for the facebook page for the Phoenix Park Neighbourhood House where we meet and we thought it would be a good idea to try some painting with light.

Saturday, August 30, 2014

The Newbie - flying children

Feet a little flat - should have stood on tippytoes
You know how it is - you see something on a website and you want to be able to do it too.  So it was during the term holidays when I saw pictures with children flying - there are lots of websites with flying kids and they look really cool.

http://rachelhulin.com/pictures/flying-henry/
http://www.apartmenttherapy.com/how-to-make-your-baby-fly-petapixel-166730

So my grandchildren are a little bit older and easier to arrange in a photo.  So here's how we went about it.

Monday, June 16, 2014

A new way of looking at panoramas

Light and shadows on everyday objects
Jiarong had a small portable camera.  Her photographs reflect her creativity and new ways of looking at old techniques.

Monday, May 19, 2014

Experimenting with Camera shake, ISO and speed settings


Can you guess what settings were changed for these three shots?
Eileen gave us a demonstration of her experiments with camera shake and measuring her limits with handheld shots with her camera and lens.

Comparing cameras

A wide range of cameras for the group
Just thought that we would post a photo of the range of cameras that our photography group are using.  Whatever the camera, the main task is to learn all the controls and the limitations of the camera.

Thursday, May 1, 2014

The Newbie - Aperture

So this month we are having a look at aperture.  We talked about pictures with fuzzy backgrounds and pictures with sharp backgrounds.

Saturday, April 5, 2014

Urban Forest Field Trip - March 2014

Eileen
Cameras at the ready we wandered down to the urban forest in Malvern East.  This was a good chance for Trevor to remind everyone to concentrate on their posture and camera grip but also gave us time to compose our pictures and look for the things that most interested us in the forest.

The Newbie - Things I didn't know No 1: Posture and camera grip

Testing out the camera
What am I doing here?  People are talking about how deep their fields are and how many stops on their camera?  They have shutters up and they can expose their pictures.  Should have done a class before I came?  Will I look foolish? Do I have to do anything on the first night?

That was where I started.  This is a generous group and I have learnt a thing or two since I began.

Not all tripods are created equal

(Reposted) I’ve often told my students that sometimes a cheap tripod is better than no tripod at all, but I’m starting to rethink that philosophy.  A few years back a well-meaning lady friend bought me lightweight tripod from Aldi as a gift.  From memory, I think it retailed for around $25 at the time.  It is lightweight and easy to carry and came in a neat little sleeve with a carry strap.  I have used it a few times, mostly indoors or on still days and I always thought it was adequate with my small Olympus C-750 bridge camera. 

Friday, May 20, 2011

10 Points for Taking Photographs of a Garden

Thanks to Darren for this contribution

If you want to instill in yourself a sense of peace and tranquility then nothing does it better than a lush green garden or parkland setting. Being in such an environment can really make you feel at one with nature.


It is a known fact that the colour green conveys a feeling of relaxation. It not only soothes the eyes and calms the mind but also people who are surrounded by a green environment experience fewer days of sickness.